I am going to show you how to go
From this:

To this:

CLICK THE READ MORE >> BUTTON FOR A STEP-BY-STEP GUIDE
My wife and I redid a bathroom. We took down the builder-grade mirror and installed a plastic-framed mirror we bought at Bed Bath and Beyond (click here to see the prices of their frames for yourself). Cost $65. On sale. Ridiculous. I kept the old mirror just in case we ever needed it. You'll find out there's not many building materials I throw out. 2 years later, this is the case.
I couldn't find a good DIY mirror frame online. Most glued the frame to the glass, which would leave an unsightly gap around the edges. Mirror Mate makes a product that does this that really isn't too bad. Worth checking out if you want to go that route. You can see it here. However, I wanted a flush, recessed mirror that I could move if I ever wanted to - so I made my own.
My main objective: spend $0. Honestly, that's mainly because I'm
Materials you could buy:
- 1X3 in length to fit your mirror. You could really use whatever size board you want - make it thicker (1X4,1X6, etc) if you want a thicker frame. Usually, the thicker you make it, the more swag it has.
- Also, it is your choice in quality of wood. My opinion - if you want to stain, get some nicer wood like birch or oak. If you are going to paint, I say get the cheapest pine whitewood and make it pretty. For less work, get the select pine, which is on the cheaper side and can stain ok, too.)
- You will spend anywhere from a low of $0 to a max of probably $25 if you use oak boards and need some miscellaneous stuff on the list.
Tools you will need:
- Table saw or circular saw or jigsaw or a friggin coping saw. Something to cut some straight, easy cuts.
- Kreg Jig (or you can use glue and some staples, I guess)
- Router (table saw could also be used instead - OR you could buy some pre-rabbeted wood)
- Sanding block. However, a power sander is well worth the investment (this is the one I own)
- Wood filler
- Primer (if painting)
- Paint / Stain
- Paint brush
What I used (objective was $0.):
- Existing builder grade mirror ( Mine measured 24" x 41 7/8" . But 42" is just as close.... )
- Old scrap piece of ugly plywood in my garage.
- Kreg Jig with some 1 1/4" screws.
- 5" random orbital sander with 120 grit sandpaper discs. Because that's what I had.
- Elmer's wood filler in "natural" tint.
- Primer I had
- Paint I had
Make your measurements. I chose to make my frame 2 1/2" wide, I needed two boards cut to 46" and two boards cut to 28". Mark your measurements and make the cuts. If you're on a table saw, set it, rip it, and forget it.

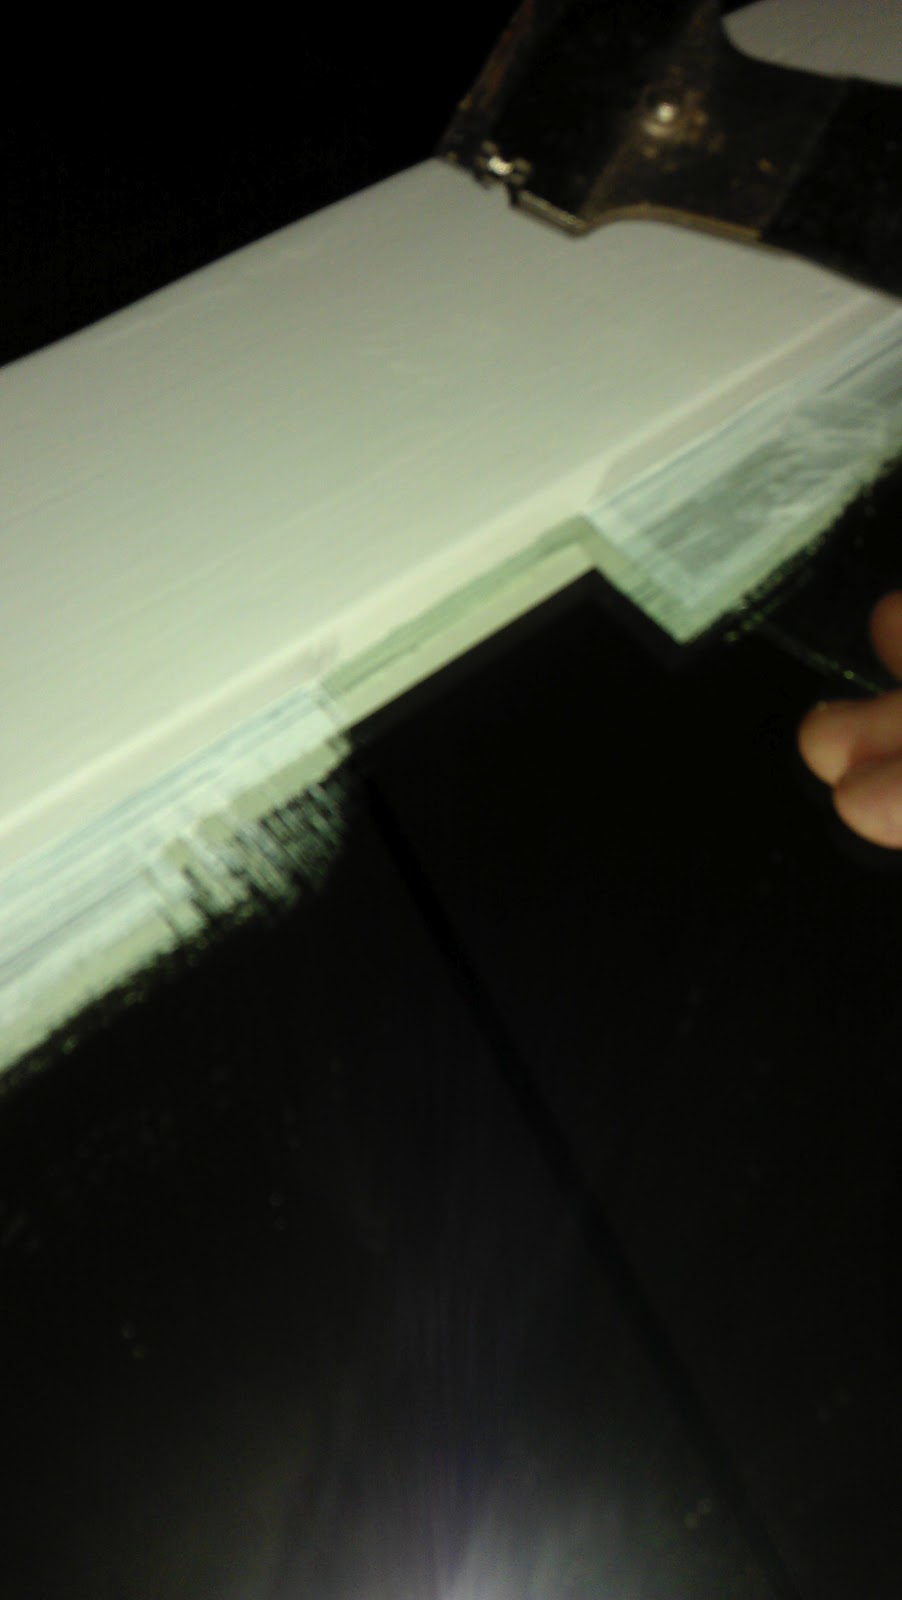
Next, you want to rout the edges so the mirror will recess into the frame. I used my Bosch router for this with a 1/8" rabbeting bit (this is the router kit I have. Highly recommended!) Don't be scared by the terminology - it's pretty simple. You could also use a table saw with a dado blade OR you could set the depth of your your table saw blade to the depth of your mirror, score a line, and chisel out the strip. Either way, you are making a little lip on the edge of the wood. Do your two styles (long pieces) from end to end (only do the longer pieces - look at the next step for the smaller ones). It should look like this when you are done
.jpg)
Next step is to do the same thing to the rails (smaller ones), but we don't want to run from end to end. We want to leave a spot for the screws to catch well in the next step, so here's a little cheat. Put your two long styles on the mirror, like this:

then lay a rail flush with one of the styles. From the bottom, mark where the mirror ends, like this:

.jpg)

Now join the rails and the styles with 1 1/4" Kreg screws. Hate to beat a dead horse here, but the Kreg clamp makes joining everything so easy. Anyways, get your screw on and it should look like this when you are done:

We're gettin there - you should be getting excited by now! Ok, settle down. We've still got a lot to do.
Now, we're going to sand it all. I used my Skil 5" random orbit sander. Now, I'm a Bosch man, but that little Skil sander is the swaggiest sander. For $40, you can't touch that...(update: you can touch that. it ended up throwing discs all over the place after about 2 weeks of use. decent sander, but i returned it and got the Bosch random orbital. I'll have a review soon. No comparison.) anyways, sand everything down and apply wood filler where necessary. You may not need any if you used some nice wood. Me, I basically MADE a new board with the amount of filler I used in this canyon-like plywood. I use Elmer's natural tint wood filler (this is the exact one) - it always works well for me. Sand it, fill it, and sand it again. That got it like this:


Now we get to prime the whole thing. I used Kilz2 water based primer (check blue price here / check orange price here). Looks like this when done:

NOTE: you have to paint the backside of the frame. Otherwise, when you put in the mirror, it will reflect the unfinished wood. For illustrative purposes, look at the top of the frame in this photo (and it looks much worse in person):

So now you just have to finish it with the paint color of your choice.
NOTE: this next tip is NOT slop work. Don't confuse it as such. This little tip is actually faster and more economical than any method I have ever seen for painting around glass or mirrors. Your line will be better than if you had taped it, it's faster, and it costs $0.
get your paint on making sure to cover all the edges up to the glass. after the paint dries, use a standard razor and skim the paint off the mirror. Win.

Now screw or nail any backing to it. I didn't have a good piece of wood to cover it all so I modified an old piece of wood I found on the side of the road and cut little pieces out and attached them at an angle. It worked fine.
So, did this hit the DIYandSIMPLIFY big three? Let's see...
Cool? Heck of a lot cooler than an exposed mirror.
Cheap? Considering mine was free, it can be. Figure about $25 on average.
Easy? Not the easiest - but not the hardest. Depends on your available tools.
So, I'd say 2 outta 3. As Chuck would say - "That's not turrible." Anyways, it's done - let's make it official and give it the stamp

Nice work! How did you hang it?
ReplyDeleteI didn't. My wife just keeps this one in the closet propped on an old dresser. But you could hang it a myriad of ways. There's tons of hanging hardware. Just google picture or mirror hanging hardware and take your pic. I like to use picture framing wire (http://www.google.com/products/catalog?q=picture+hanging+wire&um=1&hl=en&biw=1280&bih=675&ie=UTF-8&tbm=shop&cid=5115973567285783409&sa=X&ei=JUE9T6TyNYPq0gH5vvilBw&ved=0CJIBEPMCMAI), but that's personal opinion. Good Luck, Marcus, and thanks for stopping in and leaving a note.
ReplyDeleteWe like it! We saw you on woodworkers talk and had to see this project, very well done. We like your site here too, great, inventive and fun. Everything wood working should be.
ReplyDeleteThanks - I really appreciate the comment. Especially from someone with your experience. I'll be sure to give the Cut-N-Crown a thorough review if I ever get my hands on one. My neighbor just got the Kreg Crown unit (and I'm a big fan of Kreg anything) but he returned it after an hour with it. The angle was far too high to be useful in his application. I see where your unit has addressed the major flaw we saw in theirs. Kudos on the design.
ReplyDeleteThanks for stopping by, guys - really appreciate it.
This is an interesting post,
ReplyDeletethanks for your details. i enjoy this site..
please check
another this sit
Thanks for the posted information, it was a pretty easy to follow tutorial unlike some others I've read for DIY. Keep us posted!
ReplyDelete-Bronx Shower Doors
"When I was applying for a loan to purchase my building as a small business owner in a tough situation, conventional banks said they could not help me. Mr Benjamin, a loan officer sat down with me, heard my situation and decided that I was worth taking a chance on. Here we are 5 years later and I have just renewed my loan for another 7 years. I couldn’t have purchased my building without the help of Mr Benjamin and will be forever indebted to them for giving me a chance when no one else would."
ReplyDeleteI will recommend you to contact a loan officer Mr Ben on the information below if you need any financial assistance.Mr Ben Whats-App Contact: + 1-989-394-3740As well as Email: 247officedept@gmail.com